I’m baaaa-aaack! Just like a poltergeist tangled in yards and yards of brightly colored yarns…I am back.
And I missed you!
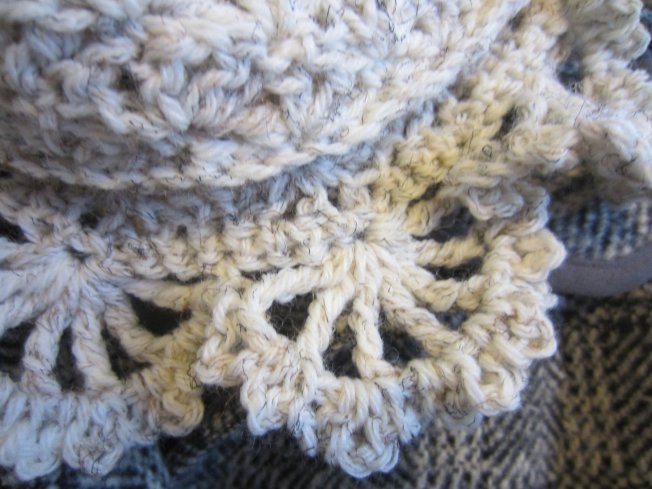
It’s been a little weird here. Not bad! Just…quiet. I’ve been busy, of course, stitching, dreaming, reading blogs, and endlessly wandering, collecting crochet patterns. I even learned a new stitch or two, thanks to “Mikey’s” You Tube channel, and found a wealth of tutorial videos on Bob Wilson 123’s You Tube channel.
From Mikey, I learned this great “crinkle stitch,” for making a textured, dense fabric, perfect for sweaters, coats, rugs, blankets…anything you can think of. He’s also got the tutorial video up for this stitch, for lefties! Woo-Hoo! We GO, Lefties!
From New Stitch a Day, I found the sweetest
single crochet stitch variation. Very simple and basic, it adds a cool twist to our beloved, boxy single crochet. Those of you who are just starting your grand journey into the vast and wonderful world of fiber and hook, will greatly benefit from any of these video tutorials, as will we veteran “hookers!”
I can not describe how much information I found in Bob Wilson 123’s YouTube channel, or on their website, or Facebook page. Not enough paper!
What’s that, Earl? We’re not using paper? Oh. Can I still change the color of the crayons I write the posts with? Yes??? Cool!
So, I have been doing my thing, stitching, spinning, dreaming…started the garden, finally! LATE! The weather isn’t the best this season, but compared to what’s been happening out West, I’ll take some Connecticut gloom. It’s a banner year for weeds!
Among the infinite number of unfinished projects I always have going, I settled down to felt a few more of my older hooks, ones that didn’t have grips to make my fingers happy.
This time, you all get a little tutorial!
I started out with an assortment of aluminum and steel hooks.

To keep things a little less splashy, I wrapped a piece of cardboard with plastic wrap. And, to anchor the roving to the hook well enough to get a start, I used washable fabric glue, Aileen’s, “OK To Wash It.” That’s just what I had on hand. Any washable glue will do, of course. If all you have is Liquid Nails, go for it! Just remember to wear gloves so the wool and glue don’t make you a new pair of unintentional fuzzy mittens.
I do not recommend the use of super glue. You’re going to get a little glue on your fingers, and if you’re using super glue, you’re about to go through the rest of your week with a woolly crochet hook stuck to your hand.

I put a selection of different colored roving pieces together, some dyed, some natural. It’s way too cool to wrap your hooks in multi-colored roving, and you can even lay the wool out to make patterns!

Now that we have the tools and the fuzzy stuff, let’s get started! This is so easy, and so much fun, you’ll soon find yourself ransacking your hooks stash to find more hooks to felt.
I grabbed a hook, and a small patch of roving, stretching the roving out to measure it against the hook. I wanted the felted handle to cover the hook up to the finger grip, so that I would have that finger grip, and also be able to tell what size hook I had in my hand. After the hook was measured against the roving…and believe me, this is not an exact science…I dipped the hook into the bottle of glue, covering it up to the grip, like so…
I also made a hook with a “patterned” roving patch, which requires just a little more finesse, but really comes out cool. For this, I got my loose measurement against the roving, with the pattern side UP, then when it looked good to me, I flipped the pattern side down to do the wrapping.

Once the hook is dipped, just lay it down on one edge of the roving, and start rolling.

Roll it all up and tuck in the end, close, but not too close. Leave a little pillow on the end.

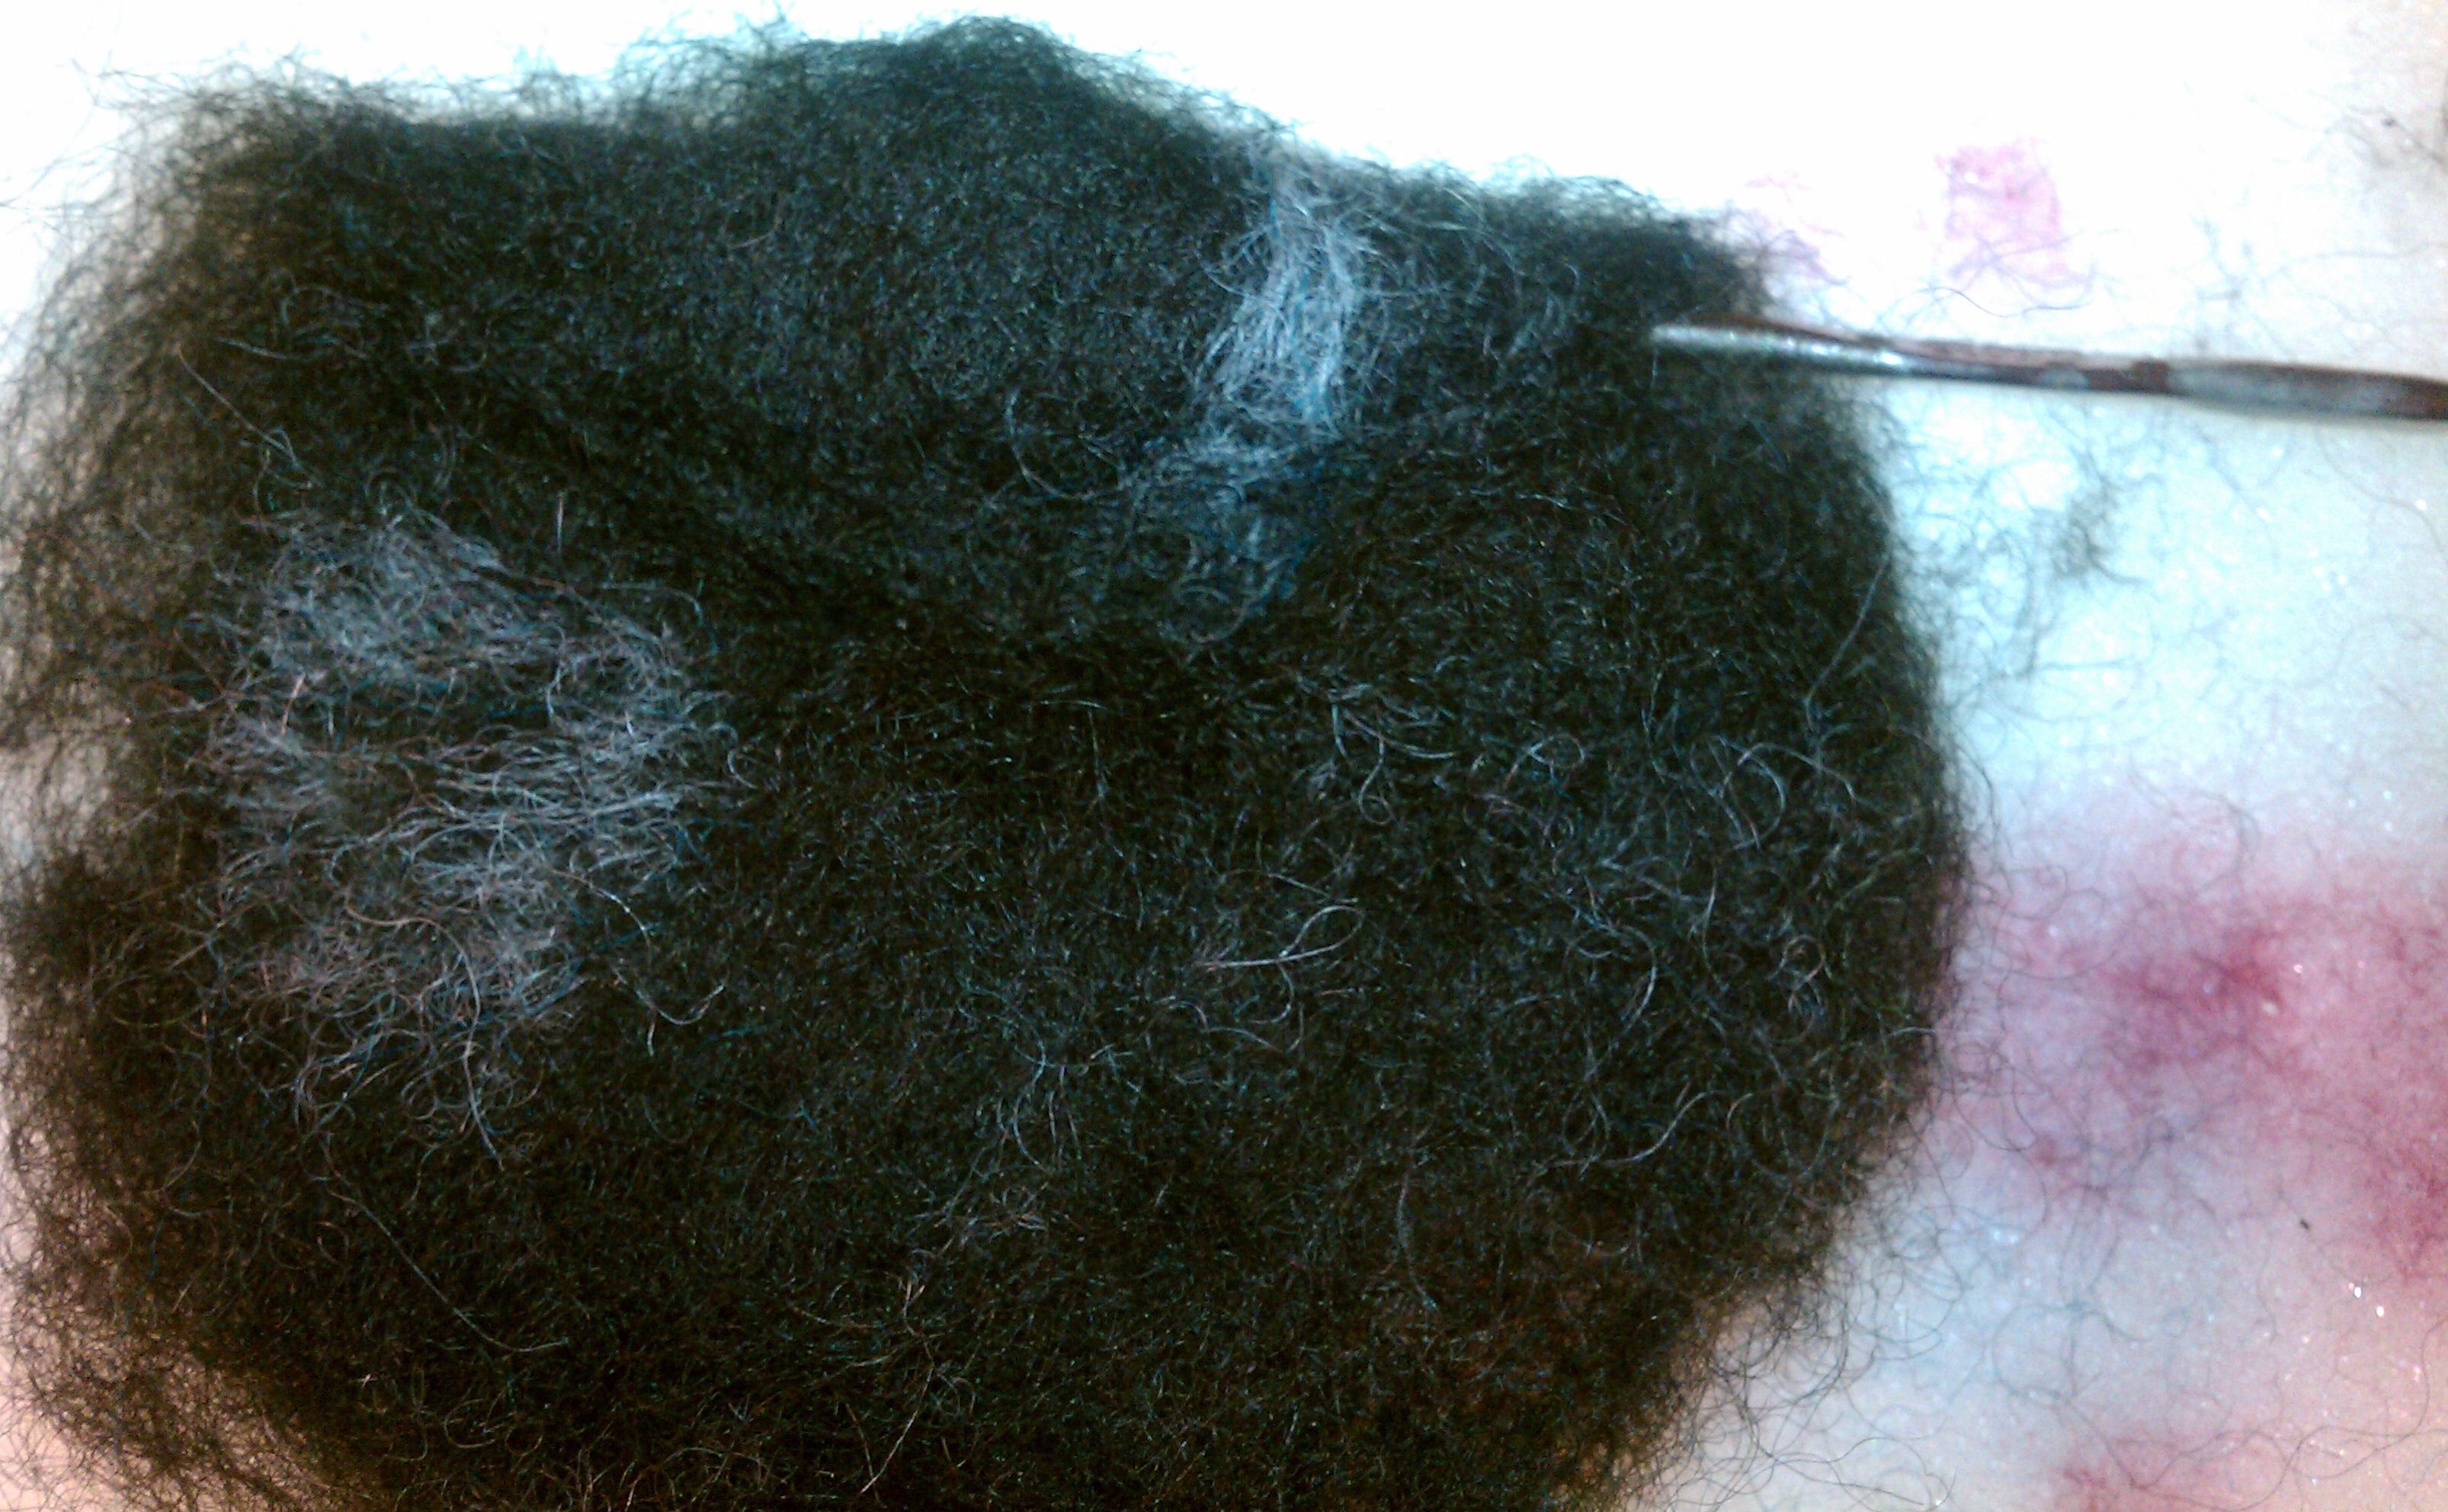
Now, here comes the optional part of today’s program! Any needle felters out there? Here’s where, if you have some needles about, you get to needle felt the hook sleeve into place, making the wet felting easier. Of course, if you really, really go to town with the needle felting, you won’t even have to wet felt. Your cover will be softer and looser, but perfectly usable. This hook was needle felted into place…you know the drill…poke, poke, jab, jab, all over, again and again, stick, move, stick, jab, swear, wipe up the blood…..
Yeah, there are two types of needle felters, those who have jabbed their fingers with those deadly sharp little barbed boogers, and those who will do so eventually.
I’m a veteran.
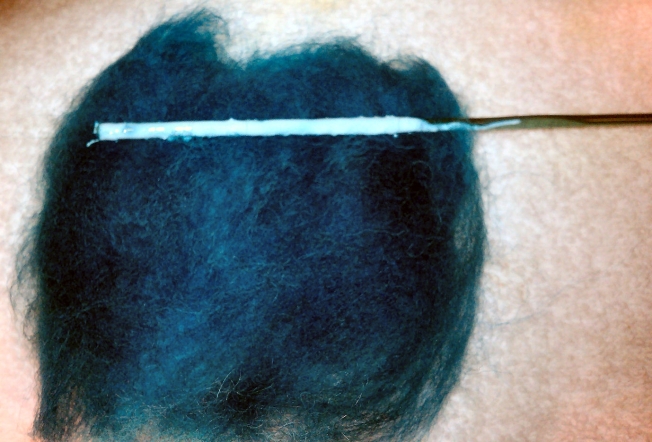
So, anyway. this is what that blue and black hook looked like, needle felted.

It’s ready to use! It’s softer than I want it, though, so I’m going to wet felt it, with the others.
This is important! You have to wait a day, for the glue to dry. Otherwise, it will wash away and your hook cover will fall off, or worse, fall apart. So, wait a day, and come back for the rest of the tutorial.
Oh, hi! You’re back! So, you have your hooks, with the roving glued to the handles, all wrapped up and ready to felt. Cool!
And that brings us to…ta-daaaah! The sink.
Wet felting the hooks is easy, easier if you did the needle step first. If you didn’t, just take your time. We’ll go through the process as though you had not needle felted your hook cover, first.
You’ll need hot water, and soap. I just use the bathroom sink, and some liquid soap that I keep there. Fill the sink with hot water, and dunk your hook. Make sure it gets thoroughly soaked!

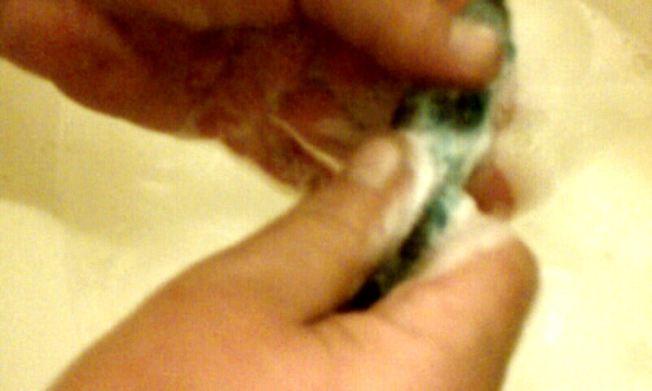
Next up, grab up some soapy stuff. You can see in the picture that I have liquid soap, but if all you have is bar soap, then go for it! Very gently, get up a good lather, by squishing and releasing, adding a few drops of water when you feel like it. No heavy rubbing yet! If you are using bar soap, you might want to let the hook soak while you get a good lather happening in your hands.

Now, remember, at this early stage, you’re working very gently, so that the wool doesn’t pitch a fit and fall off the hook. At this stage, I bring up a good lather, and squish it between my fingers, being careful not to rub too hard. You do have to rub a little, to get the fibers to start blending, but…not too hard. Just use a light touch, and some gentle squishing and patting.

The fibers will tell you when it’s time to start putting a little more pressure into your felting. This is where I start to dig in with my fingers a little.
Don’t forget the end of the hook! A little squish-and-rub there would be a great idea right about now. You’ll probably, sooner than later, have to start pushing the fiber down onto the hook a bit. If your hook pokes out, just pull some wool back up over the end of the hook and keep rubbing.

Now that you’ve got some rubbing, squishing and lathering done, it’s time to rinse, and check your progress. Rinse your hook in hot water, then switch to cold, then back to hot. This “shocks” the fibers and helps get them to shrinky-dink around the hook. Hot water expands the fibers, then the cold water shock makes them contract.

Now, for more hot soapy water. You can see in the picture that I’m involving my whole hand, squishing and rolling the fibers, putting some pressure on the wool.

More rinsing and checking…again, hot to cold, back to hot. You can now roll the hook between your palms, roll it between a couple of small sheets of bubble wrap, if you have it, dig in with your knuckles, if you like, rinse hot to cold and back again a few times to shock and check progress…

And now, as you see, I have a finished, felted grip on my hook. It feels wonderful in the hand! I went a step even further with my hooks, and after I wet felted them, I rolled them up in a thick towel to get the excess water out…then popped them into the dryer. Oh, BOY, do they make a racket! Toss something in the dryer with them, give them something to rub up against. The added agitation is what makes them further felt in the dryer, and when they’re done, you’ll have perfectly felted hooks to enjoy!

This seems like a lot of writing, but don’t feel daunted. This is not a lot of work. This is even something that the kids can do with you! You’ll use warm instead of hot water, but that’s okay, as long as they get the rubbing down. Felting has a lot to do with agitation.
If your sleeve slides off your hook, like one of mine did, just dip the hook, gently slide the (DRY) sleeve back on, and use the glue that squishes out to seal the open end of the sleeve. That’s right, just use a finger tip to work it right into the edge of the wool. It will disappear, and be soft, as it’s fabric glue. Then, just put the hook aside for a day while the glue sets, and you’re all fixed!
I hope you enjoyed this tutorial…if you have questions, please feel free to leave comments, and I’ll get right to answering them, if I can. If I can’t…I’ll Beseech The Gods of Google!
Stay tuned…next up, some VERY special crochet hooks….